Battle Info
|
Job: Dark Knight/Black Mage Mission Boss |
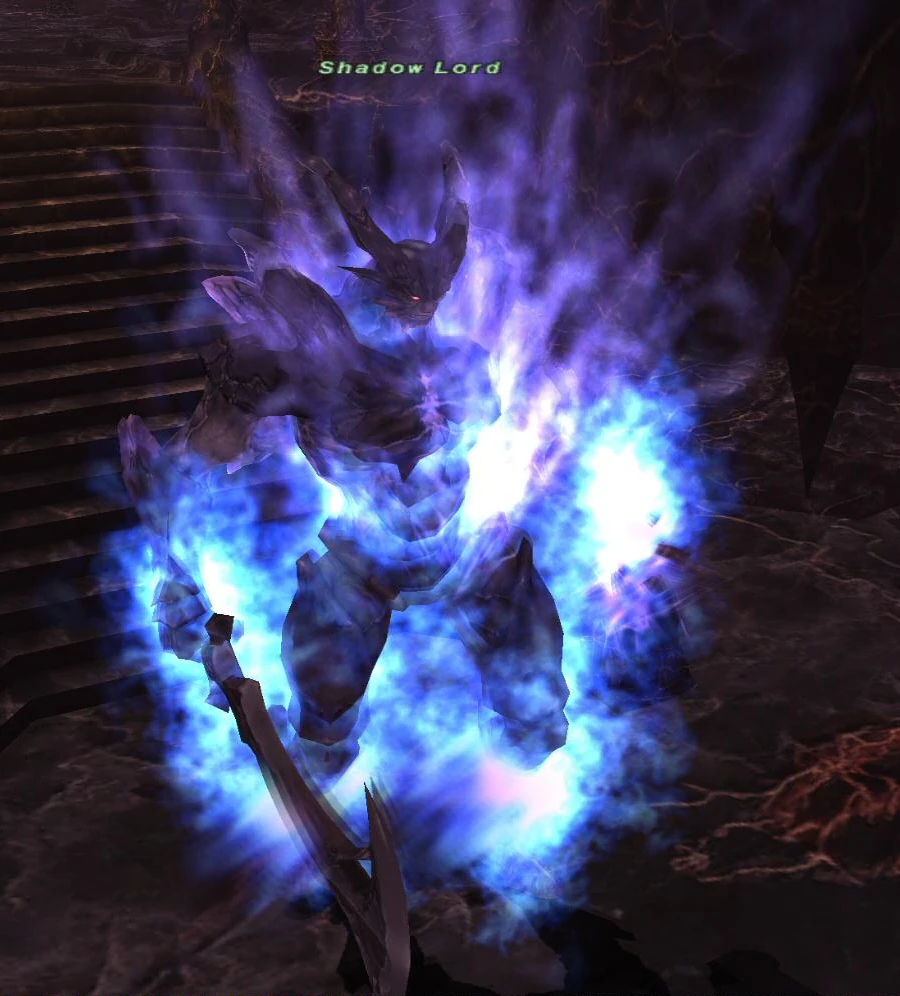
 Shadow Lord |
| Zone | Level | Drops | Steal | Spawns | Notes |
|---|---|---|---|---|---|
Throne Room
|
60 | 1 | A, S ~10,000 HP ??? MP | ||
Throne Room
|
1 | A, S ~4,000 HP ??? MP | |||
Throne Room (S)
|
1 | A, S ~36,000 HP ??? MP | |||
|
HP = Detects Low HP; M = Detects Magic; Sc = Follows by Scent; T(S) = True-sight; T(H) = True-hearing JA = Detects job abilities; WS = Detects weaponskills; Z(D) = Asleep in Daytime; Z(N) = Asleep at Nighttime; A(R) = Aggressive to Reive participants | |||||
Present Day
| Spawn Conditions | Companions/Summons |
|---|---|
|
End boss of rank mission 5-2, entitled The Shadow Lord (San d'Oria), The Shadow Awaits (Windurst) or Xarcabard, Land of Truths (Bastok). Players of any allegiance may enter the same battlefield, as long as they are at or past this mission in their current nation's storyline. |
|
| Special Abilities | Passive Traits |
|
|
| Physical Qualities | Magical Qualities |
|
Casts elemental debuffs, tier 2 -ga nukes, Drain, Aspir, and Ice Spikes. |
| Further Notes | |
(see testimonials) | |
Fiat Lux
| Spawn Conditions | Companions/Summons |
|---|---|
|
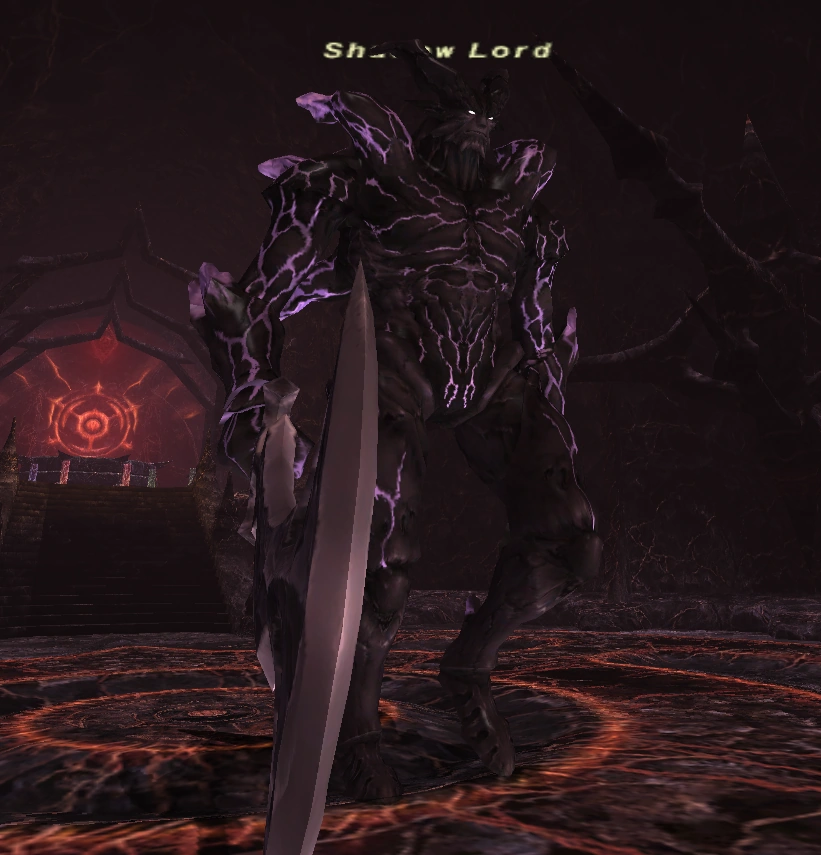
Spawned during the Campaign Op: Fiat Lux (all nations). |
|
| Special Abilities | Passive Traits |
|
The Shadow Lord uses certain abilities/weapon skills based on whether using a single sword or a two of them.
|
|
| Physical Qualities | Magical Qualities |
|
|
| Further Notes | |
(see testimonials) | |
![]() SPOILER WARNING: Details about the Final Fantasy XI in-game storyline follow.
SPOILER WARNING: Details about the Final Fantasy XI in-game storyline follow.![]()
The Shadow Lord is really Raogrimm.